NativeScript Repeater + Animations
NativeScript has a couple different components for working with lists of items: the ListView and the Repeater. ListView is the beast of the two, handling scrolling, infinite item loading as you scroll, etc... in addition to repeating a set of items over a view template. The Repeater is less feature-packed, but is a solid choice if all you need is to repeat a view template for some items and the list won't be(come) large enough to have to scroll.
Video Tutorial
I've done many tutorials on my blog, but this is the first video tutorial I've done and I'm super pleased to have finally done this. I'm new to editing so it's not perfect, but good enough for attempt number one. Enjoy!
Wiring Up The Repeater
We're going to get started by creating a project based on a template by running these commands:
tns create repeaterDemo --template tns-template-hello-world-ts
cd repeaterDemo
tns platform add android
you can also add ios platform the same way as android above
This will scaffold out a starter "hello world" project that uses TypeScript. We're going to modify the app/main_page.ts and app/main_page.xml files.
Let's add a repeater to a page and wire it up to a simple view model. We'll have a button on the page that adds a new item to the list on tap, and each list item will have a delete button on the right side for deleting them. The Repeater has an items property that tells what its data source is, and it can also accept a child Repeater.itemTemplate element that defines what each item's view should look like.
<!-- main_page.xml -->
<page loaded="onPageLoad" xmlns="http://schemas.nativescript.org/tns.xsd">
<stack-layout>
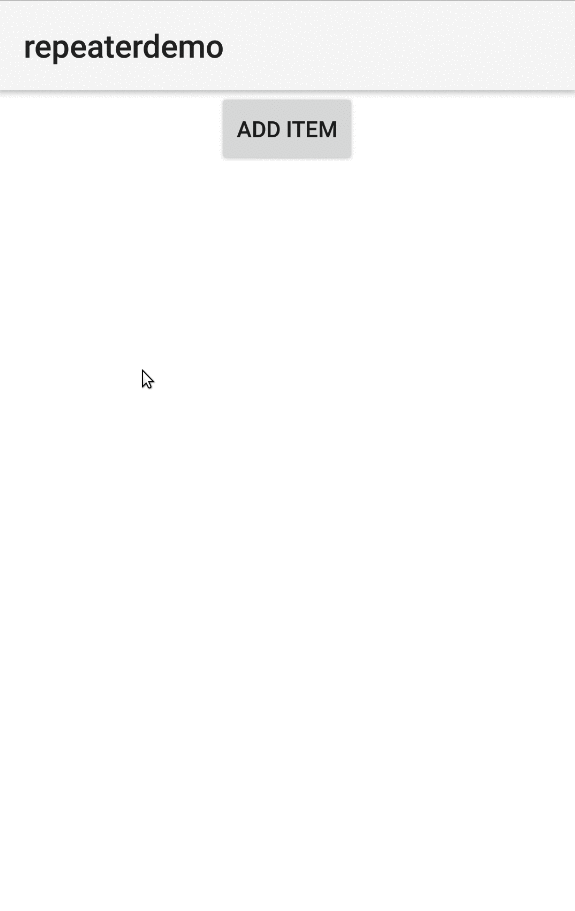
<button tap="addItem" text="Add Item" horizontal-alignment="center" />
<repeater id="repeatedItemsList" items="{{ items }}">
<repeater.itemTemplate>
<grid-layout columns="*,auto" rows="auto,auto" style="margin-top: 5;">
<label col="0" text="{{ $value }}"/>
<button col="1" style="margin-left: 5; margin-right: 5;" text="Delete" tap="removeItem"/>
<!-- item separator -->
<stack-layout colSpan="3" row="1" style="background-color: lightgray; height: 1;"></stack-layout>
</grid-layout>
</repeater.itemTemplate>
</repeater>
</stack-layout>
</page>
Okay, this is pretty straight-forward. We're binding our repeater's items to an "items" property that will be on our view model, we have an item template for each item to inflate, and we have some buttons - 1 for adding a new item, and 1 per item for deleting the item. Now we just need to wire up the functions and view model!
//main_page.ts

import {Page} from 'ui/page';
import {EventData} from 'data/observable';
import {ObservableArray} from 'data/observable-array';
import {Repeater} from 'ui/repeater';

var thisPage: Page,
    counter: number = 0;

export function onPageLoad(args: EventData) {
  thisPage = <Page>args.object;

  thisPage.bindingContext = { items: new ObservableArray([]) };
}

export function addItem() {
  thisPage.bindingContext.items.push(counter.toString());
  counter++;
}

export function removeItem(arg: EventData) {
  //TODO: remove the specific item that correlates to the item clicked
}
Tap Events in Repeater
We have an empty removeItem function, so we just need to fill it in. When a tap event happens, there's an argument that is passed into the handler that contains an object property. This is the View for the item (or a child view, as is our button) and it will have a binding context, which will be the single item bound to that specific repeater item. So, in order to know which item we need to remove, we can just retrieve it by using indexOf on the bindingContext.items of the page:
//add a new import
import {View} from 'ui/core/view';

export function removeItem(arg: EventData) {
  //arg.object.bindingContext will be the individual item it is bound to
  let index = thisPage.bindingContext.items.indexOf((<View>arg.object).bindingContext);
  thisPage.bindingContext.items.splice(index, 1);
}
Animating Item Add/Remove
So, now that we're adding/removing items it would be great to add some animations to our items. Fortunately for us, NativeScript views have sweet animation capabilities baked right in. Let's start with animating the item being deleted first, as it will actually be a bit simpler:
Remember that object property on the arg parameter? This is the reference to the button that was clicked. So, we can grab its parent (which, in this case, is the top-most element for the item) and animate it out of the repeated list. Once the animation is done we can remove the corresponding item from our repeater's data source. Implementing this is actually as simple as it sounds - we'll translate the X coordinate by -500 to animate it sliding left off screen:
//update removeItem to animate the item away before removing it from the data source
export function removeItem(arg: EventData) {
  let index = thisPage.bindingContext.items.indexOf((<View>arg.object).bindingContext);
  (<View>arg.object).parent.animate({
    translate: {x: -500, y: 0},
    duration: 300
  }).then(() => thisPage.bindingContext.items.splice(index, 1));
}
The animations functionality in NativeScript is slick. It's easy to reason about, and uses promises - so if you want to do some action as soon as an animation is finished, it is just as easy as a .then(someFunctionToRun)!
Okay, now we want to animate the new items being added. Let's do a zoom-in effect here instead of a slide. The only slightly involved part here is that we need to animate the last item in the repeater, but it's not as convenient as when we remove items - as we aren't in a function that is conveniently given access to the view in question. So, before we can do that, we need to do some learnin' and see just how this Repeater thing works.
Looking at the source code, we can see that the Repeater actually only has one direct child element: itemsLayout and it defaults to a StackLayout. This makes sense, as each item's view will just be stacked atop another. While you can customize this, we're sticking with the default in this scenario. Seeing that our individual items aren't added directly to the Repeater, but rather to a StackLayout, it gives us what we need in order to get the last (newest) item in the list and animate it in:
//add some more imports
import {StackLayout} from "ui/layouts/stack-layout";

//update addItem to animate in the new item
export function addItem() {
  thisPage.bindingContext.items.push(counter.toString());
  counter++;
  //get a handle to the newly added View, remember it's added to the StackLayout
  let lastItemIndex = thisPage.bindingContext.items.length - 1,
    //get a handle to the repeater
    repeater: Repeater = <Repeater>thisPage.getViewById('repeatedItemsList'),
    //get the child (a StackLayout by default)
    repeaterStackLayout: StackLayout = <StackLayout>repeater.itemsLayout,
    //get the view at the index of our new item
    newChildView: View =  repeaterStackLayout.getChildAt(lastItemIndex);

  if (newChildView) {
    //set the scale of X and Y to zero (zoomed out)
    newChildView.scaleX = 0;
    newChildView.scaleY = 0;
    //animate the scales back to one over time to make a zoom in effect
    newChildView.animate({
      scale: { x: 1, y: 1 },
      duration: 300
    });
  }
}
And that's it - we now have a list of items that animate when adding and removing them. With NativeScript, building rich animations into your views just couldn't be simpler and those native transitions just couldn't be smoother :)
-Bradley